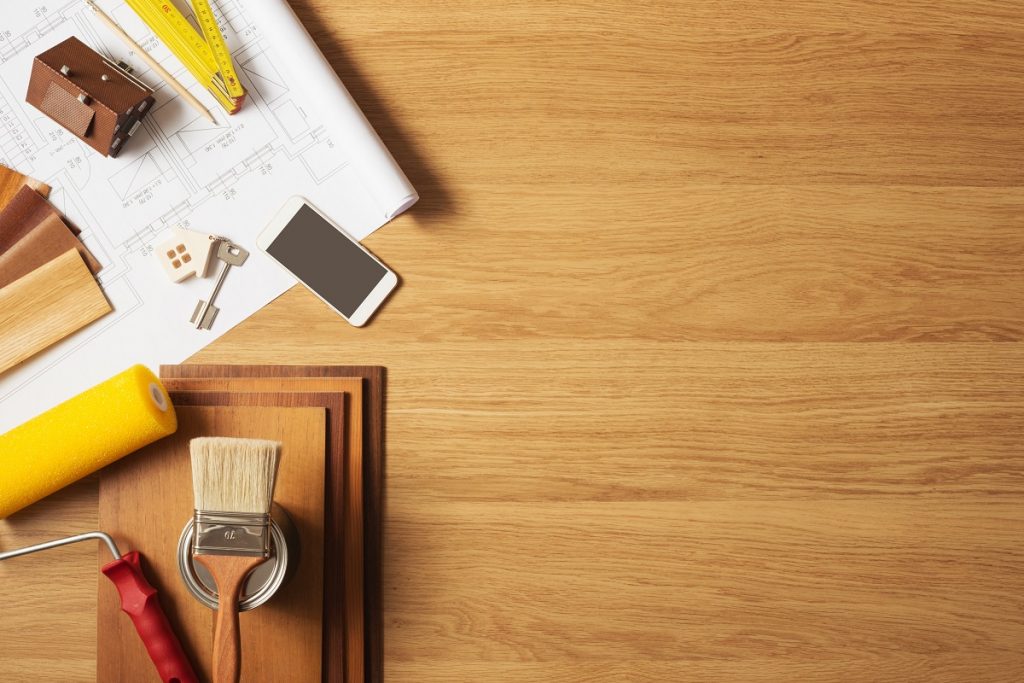
DIY home improvement projects are all the rage right now. With people forced to stay indoors, many have taken a renewed interest in giving their homes a major makeover. If you’re one of them, chances are that you’ve been doing a lot of Google searches on how to clean gutters you can’t reach, swap dated fixtures, and enhance your home’s curb appeal. Whatever project you’re working on, doing it on your own may not be as simple as you might think.
Painting is that one home improvement project that everyone loves to do but is difficult to perfect. Adding colors to your living space can actually turn out fun if you do it correctly. It’s not just about picking your favorite color and splashing it all over the house. A lot of factors come into play, from picking the right paint color, using the right painting supplies, to prepping the house.
Prep work is something that most of us don’t anticipate when getting the house ready for painting. We just immediately get to work without doing some actual maintenance. Doing the right preparations can make a big difference in turning those boring walls into a work of art. So before getting that get paintbrush ready, here are things you must absolutely do before painting the house.
Prep the room
It’s an obvious fact that painting the house is easier if everything is tidy. This means leaving the room empty or keeping things out of the way. Whether you’re painting the kitchen, living room, or bedroom, move all furniture towards the center and put sheets on top of them. The last thing you want is to have paint splattered all over your furniture pieces, so you have to keep them away in case an incident happens.
Most homeowners have a habit of painting the walls without wiping them down. While others considered this as optional, experts see it as a crucial step. Whether they’re visible or not, walls have built-up dirt, dust, and oils that accumulated over time. Keeping them attached to the walls will cause the paint to shed immediately and prevent the adhesion of paint on the surface. So save yourself some time and remove the debris before painting.
Over time, your walls will develop cracks and tiny nail holes from picture frames. Fill them with spackling paste to cover the empty spaces because leaving them out will make the wall look unattractive. Also, don’t forget to tape the adjacent walls, outlet covers, light switch, and window trim. Use newspaper or drop cloths to protect the floor.

Choose the right paint
Choosing the right colors can be overwhelming and confusing for some, especially if you have a set of palettes to choose from. Often, most people make the mistake of choosing safe colors, such as white, off-white, or beige, because of fear, or they simply can’t choose.
Don’t be afraid to experiment with colors. Colors come in a hundred shades that can easily transform a room. While it’s difficult to find the best color to suit your walls and mood, a great tip is to buy samples or search the internet. If you want to keep it neutral, go for expert-approved paint colors such as shaker beige, Manchester tan, table linen, French canvas, or Navajo white.
You can also try buying samples to get a good idea of how the paint will look on the walls. Allow it to dry and observe the color during daytime and evening. Purchase a handful of samples if you’re unsure what to get. Colors may look different on how they look in the picture and when you apply them to the walls. But be sure to test the color swatches before committing to any paint color.
Prep the brushes and roller
After getting the color right, it’s time to prepare the brushes and roller. Just because your paint supplies are freshly bought from the store doesn’t mean they’re clean and good to go. Wash the brushes and rollers with cold water before use. The water will wash off the dirt, debris, and loose fibers and prevent the paint from caking along with the bristles.
Another rule to remember is to brush before rolling. Use a quality brush for the paint to reach the corners of the ceiling, baseboard, and other areas the roller can’t reach.
We understand how exciting it is to give your home that much-needed painting job. Still, it’s important to make the right preparations for a smooth and stress-free painting experience, whether it’s DIY or professional work. The steps above are proven techniques to get perfectly painted walls. But be sure to spend enough time on these preparatory works to get successful results for your painting project.