An epoxy flooring supplier provides coatings that elevate your garage space by making it more aesthetically pleasing and adding a protective layer to the base concrete. In this video, viewers get to see different options for doing a DIY epoxy floor. Here are a few steps to help homeowners transform their garage.
Preparation prevents poor performance.
Prepping the garage properly will help get a better end product. This includes removing anything that could be stained or marked by the epoxy or impede the progress of the project.
Once everything is out, assess the floor itself. Anything stuck to the ground needs removing. Now, perform a moisture test — professionals may use moisture meters, but DIYers can place a sheet of plastic on the floor overnight and check for condensation.
If the concrete is dry, DIY can continue. Now, use a de-greaser to remove oil residue and stains from the surface of the concrete. A pressure washer helps remove any last particles of dirt.
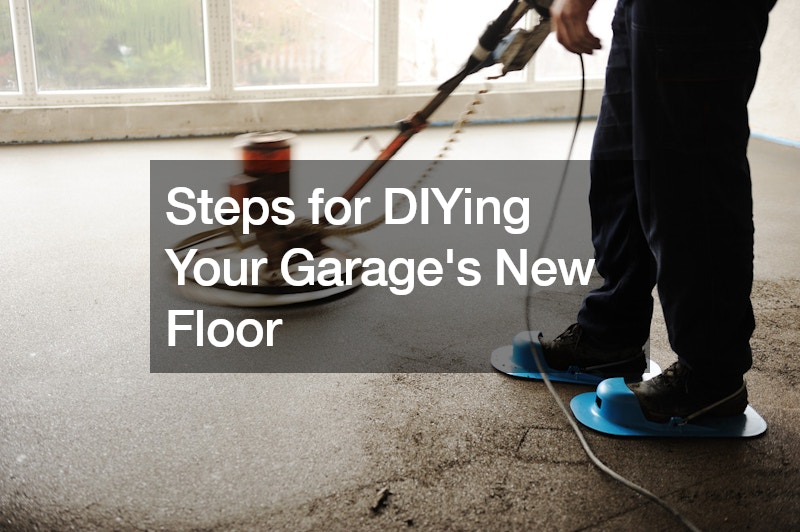
Grind the floor to ensure it’s flat and clean — always use a respirator as concrete produces massive amounts of dust. A fresh layer of concrete adheres to the epoxy better and helps the floor last for years to come. For areas the grinder can’t get into, an acid treatment can finish the job.
Let everything dry before applying epoxy. Check the instructions here from the epoxy flooring supplier. With proper preparation, epoxy application should only take two hours or so.
